TL;DR
- Documentary filmmaker Aidin Robbins shares his process for making a 17-minute movie about why mountaineering in the Alps is increasingly treacherous in a 6-minute behind-the-scenes YouTube video.
- The project required the three-man crew to pack as light as possible, working with a Sony A7S III, a Panasonic Lumix S5 and a DJI Air 2S drone, plus limited lenses and accessories to accommodate the climbing equipment they’d require for the trek. Robbins shares a full production gear list; find it below.
- Robbins tapped guide Dave Searle to also act as a local expert on camera, breaking up his voiceover during the film, in addition to ensuring they safely got from point A to point B.
Mountaineering requires a lot of specialized equipment. So does filmmaking. Combining the two requires both special skill and a willingness to work in challenging conditions with limited gear.
Aidin Robbins was up for the challenge. ‟We were shooting in very unique conditions, very unique terrain, and photographing some unique and incredible landscapes. It was completely different from any other project I’ve ever taken on,” he says.
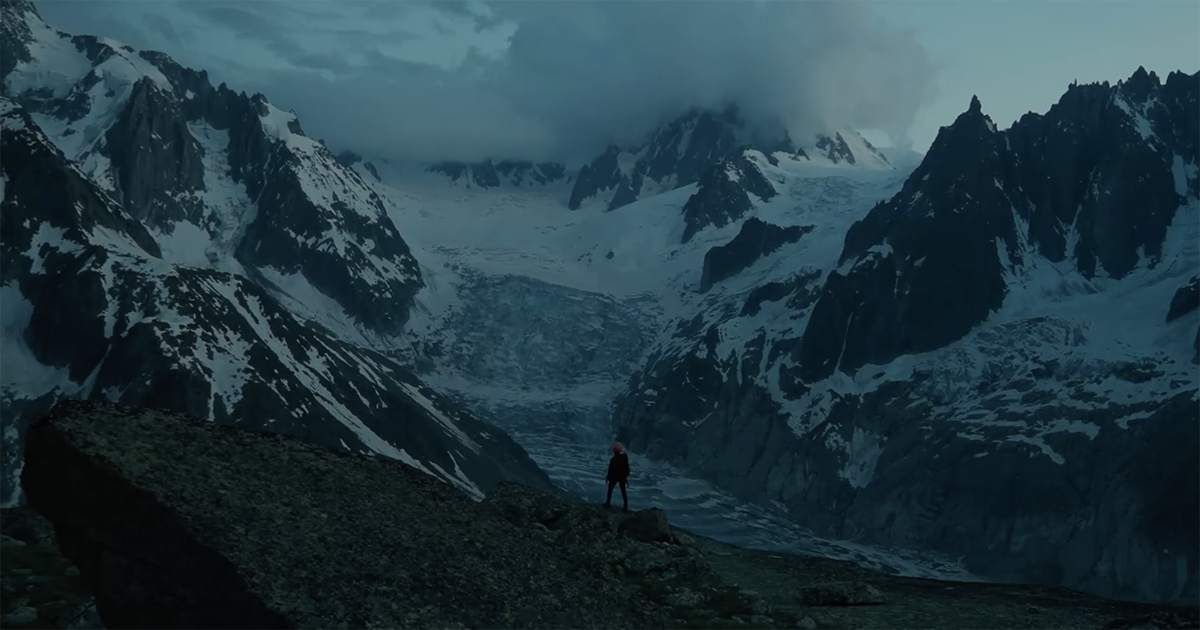
Accompanied by guide Dave Searle, Robbins and Eric Matt shot a sub-20-minute film documenting how melting glaciers in the Alps have made mountaineering there more dangerous.
Robbins also made a short behind-the-scenes explainer video to show us how he did it.
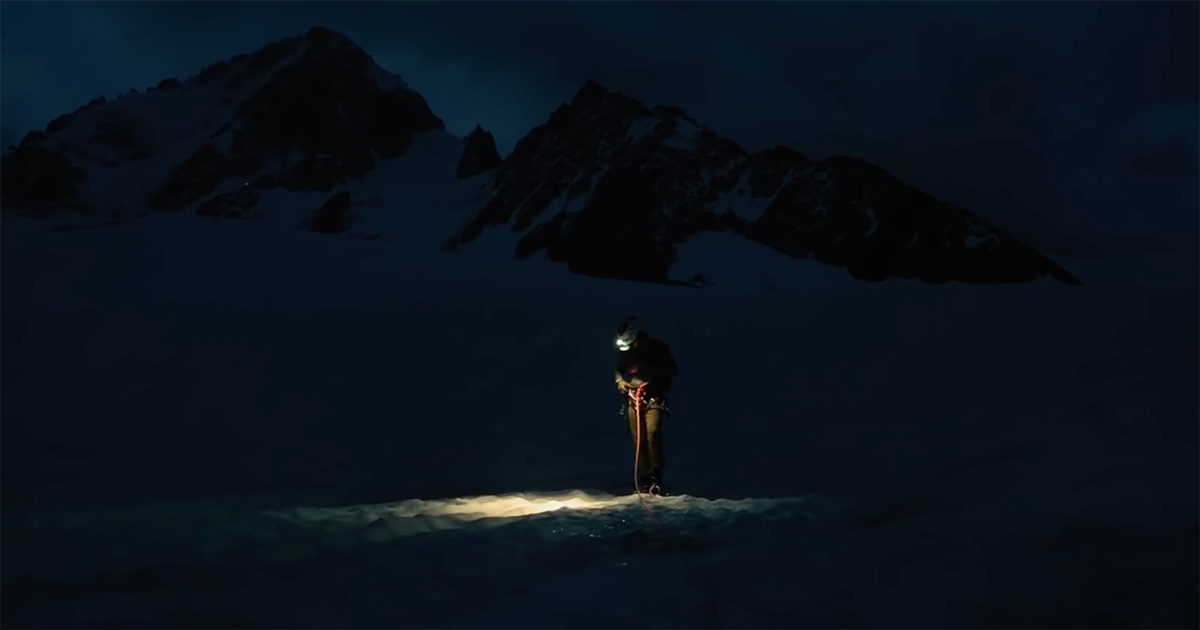
Robbins, Matt and Searle collaborated on a detailed itinerary that would help them get through a shot list that ‟included lots of up close footage of the impacts of climate change places where glaciers have receded, meltwater lakes and streams rock falls, but also the gear setup and process of mountaineering and the beauty of these high alpine landscapes” — all in one week.
In total, Robbins says he came home with ‟11 hours of selects and the rather daunting task of turning it into a 17 minute video.”
Searle’s role as guide extended to appearing as an expert on camera and as a voiceover in the film.
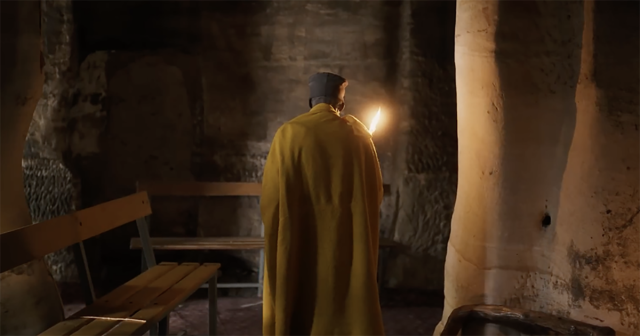
To record the interview, Robbins says, they ‟had two different interview setups: one inside speaking a bit about Dave’s history and how he got into mountaineering, and then a second one outside, speaking more specifically about the mountains and glaciers, so that one we made sure to shoot with mountains and glaciers obvious in the background.” Both scenes were shot from two different angles.
Additionally, the interviews were minimally lit. The outdoor relied only on afternoon light, shielded by a ‟rock which provided a bit of shade and softened out that light.” The indoor consisted of ‟a window as a key light and used one of these little Godox light panels as a subtle little film light on the other side of his face.”
For audio, they relied on ‟a Røde Video Mic Pro on top of my camera. Not the most glamorous professional interview setup, but I think it worked,” Robbins says.
In addition to the alpine footage, Robbins added history and context with ‟archival elements, footage, photos, drawings, maps, newspaper articles,” some dating back to the 1800s.
HEARING THE MOUNTAINS
The soundtrack was also crucial to the project.
‟Music is a huge part of this edit,” Robbins says. ‟It guides the movement of the story and also informs a lot of the changes in tone as we transition between these beautiful landscapes, and the threats facing them.”
But the documentary didn’t have a soundtrack to accompany every shot. He used recorded natural sounds ‟to convey the power and volatility of these landscapes. There’s a lot of like wind noise in the background, as well as a lot of kind of rumbling sounds of rocks and ice crumbling and falling down.”
And as with many documentary films, Robbins says he ‟structured the edit around my voiceover, splicing in sections from our interview with Dave to provide a local perspective, talk in detail about the process and dangers of mountaineering, and transition between sections.”
SOME VERY SPECIFIC TIPS
In his BTS video, Robbins offers some glacial filmmaking pointers that he learned from their guide and picked up in the course of their trip. If you’re interested in a similar project or just curious about the peculiarities of these conditions, here are few takeaways:
- Glacial ice is most stable early in the morning. Therefore, Robbins says he and his crew “started shooting well before sunrise.”
- Conditions constantly change on glaciers, so don’t plan to rely on maps or set routes. “That presents some navigational challenges but also some really cool photographic opportunities and some glaciers have all of that but are also covered by a layer of snow,” Robbins explains.
- Drones are almost necessary. “Some areas of the glaciers like large crevasses or ceramic edges are just too unstable to access on foot,” he says. “So to photograph these, we hiked as close to the edge as we safely could and then sent the drones over to capture up close footage of those features.”
- Rocks can make decent substitutes for tripods. “Any time lapses you see are just balanced on a rock,” Robbins says.
THE GEAR
What’s a good “making of” video without a detailed gear list?
‟We slimmed down our kits as much as possible, each of us only carrying one or two cameras and lenses, along with a drone and basic accessories,” Robbins says.
Here’s what he considered to be the essentials:
VIDEO EQUIPMENT AND ACCESSORIES
- Panasonic Lumix S5
- Sony A7S III
- Sigma 20mm f/1.4
- Sigma 16-28mm f/2.8
- Panasonic 70-200 f/2.8 L
- Sony 24-70 f/2.8 GM II
- Røde VideoMic Pro+
- DJI Air 2S Drone
- URTH ND Filters
- Tiffen ND Filters
MOUNTAINEERING AND MISCELLANEOUS EQUIPMENT
- Moment Mountain Light backpack
- Crampons
- Rope
- Harnesses
- Helmet
- Ice axe


